How to Set Up a Home Server with Proxmox VE in 2026
A hands-on walkthrough for turning spare hardware into a proper Proxmox VE 9.1 virtualization host, with disk layout, first VM, and backup configuration.
O
omer-yld
April 21, 2026 · 10 min read
How-To Guide
By the end of this guide, you will have a running Proxmox VE 9.1 host on your own hardware with a first virtual machine, a clean disk layout, and scheduled backups. The walkthrough takes roughly 90 minutes end-to-end on modest enthusiast hardware and assumes you are comfortable with a web interface and an occasional shell command. No prior Proxmox experience is required.
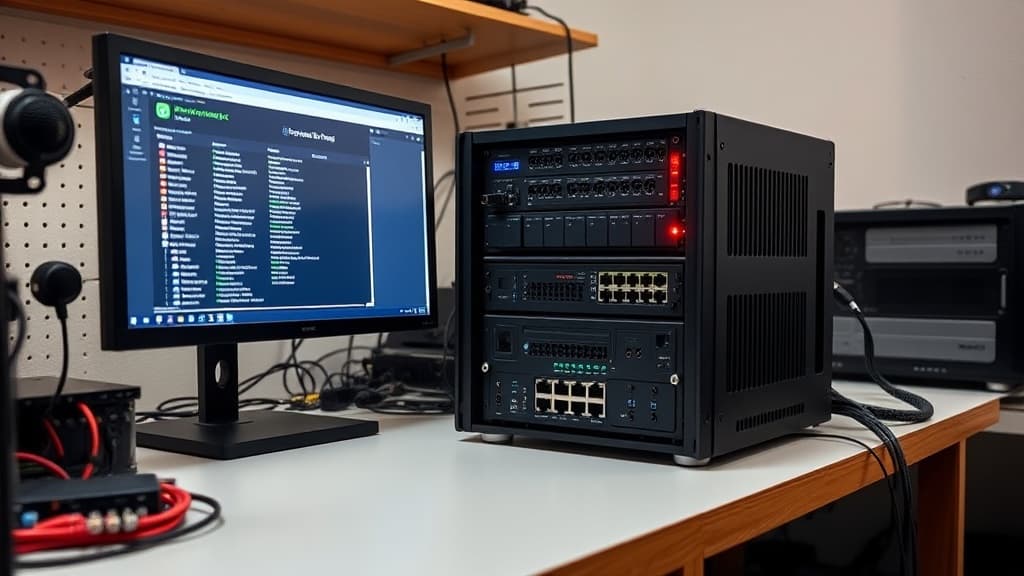
Proxmox Virtual Environment is a Debian-based open-source type-1 hypervisor that combines KVM for full virtual machines and LXC for lightweight containers into a single web-managed platform. If you have been running services directly on bare metal, or inside a sprawl of Docker Compose files on a single NUC, moving to Proxmox gets you snapshots, live migration, and proper backups without the complexity or licensing cost of VMware or Hyper-V.
Proxmox VE 9.1-1 was released on November 19, 2025 and is the version we install here. The official ISO ships with the Debian 13 "Trixie" base, Linux kernel 6.14 by default, QEMU 10.0, LXC 6.0, and ZFS 2.3.
What You'll Need
Before you start, gather the following:
- A dedicated machine: any x86-64 system with at least 4 GB of RAM (8 GB or more strongly recommended, 16 GB if you plan to use ZFS)
- A CPU with Intel VT-x or AMD-V virtualization extensions enabled in firmware
- One SSD for the Proxmox host (120 GB minimum, 250 GB or more comfortable)
- A second drive for VM storage (optional but recommended; ZFS mirror pairs work well)
- A wired Ethernet connection (Wi-Fi is not supported as a primary network interface in Proxmox)
- A USB flash drive (8 GB or larger) for the installer
- A monitor and USB keyboard for initial setup
- A second computer on the same network to finish configuration through the web UI
Budget roughly 90 minutes, most of which is unattended time while the installer copies files and the first VM downloads its ISO.
Download Proxmox VE 9.1
Go to proxmox.com/en/downloads and select the "Proxmox Virtual Environment" section. Download the "Proxmox VE 9.1 ISO Installer" (roughly 1.83 GB). The filename will look like proxmox-ve_9.1-1.iso.
Verify the download. On Linux or macOS, open a terminal and run:
shasum -a 256 proxmox-ve_9.1-1.iso
On Windows PowerShell:
Get-FileHash proxmox-ve_9.1-1.iso -Algorithm SHA256
Compare the output to the SHA256SUM listed on the official downloads page. Do not skip this step — a corrupted ISO will produce baffling install failures halfway through disk partitioning.
Create a Bootable USB Drive
Use balenaEtcher, Rufus, or the dd command to write the ISO to your USB flash drive.
On Windows, Rufus is the safest choice. Select the ISO, pick your USB device, keep the partition scheme as GPT and target system as UEFI, leave everything else at defaults, and click "Start." If Rufus asks about ISO Image mode versus DD Image mode, choose DD Image mode — Proxmox's hybrid ISO writes correctly only as a raw image.
On macOS or Linux, use dd from a terminal (replace /dev/sdX with your actual USB device — double-check with lsblk first):
sudo dd if=proxmox-ve_9.1-1.iso of=/dev/sdX bs=1M status=progress conv=fsync
Picking the wrong device with dd will erase the wrong disk. Verify twice before you press Enter.
Install Proxmox VE
Plug the USB drive into the target server, attach monitor and keyboard, and power on. Press the firmware key for the one-time boot menu (commonly F11, F12, or Esc depending on the motherboard) and select your USB drive. You should land on the Proxmox installer splash screen.
Choose "Install Proxmox VE (Graphical)" for the standard path. The Terminal UI mode is available for headless hardware or serial consoles.
Accept the EULA. On the "Target Harddisk" screen, click "Options" to choose your filesystem:
- ext4 (LVM) — the default. Fine for a single-disk host. Simple, fast, well-understood.
- ZFS (RAID-Z / mirror) — the enthusiast pick when you have two or more disks. Gives you snapshots, checksumming, and native encryption, but budget 4 GB of RAM plus 1 GB per TB of pool for the ARC.
- XFS (LVM) — similar footprint to ext4, marginal differences for most home-lab workloads.
- Btrfs — still marked "technology preview." Skip unless you know why you want it.
Warning: every option wipes the selected drives completely. Unplug any storage you do not want touched.
Enter your location, timezone, and keyboard layout. Set a strong root password (minimum 8 characters; aim for 12 or more — this account has total control of the host). Provide a real email address; Proxmox uses it to alert you about failed backups and disk issues.
On the network screen, pick your primary wired NIC, assign a static IP address on your LAN (for example 192.168.1.50), set the subnet mask (commonly 255.255.255.0), your router as gateway, and a DNS server such as 1.1.1.1 or 9.9.9.9. The hostname should be a fully qualified domain name like pve.home.lan.
Review the summary, click Install, and wait 5 to 10 minutes. When the installer finishes, remove the USB drive and reboot.
Complete the Initial Setup
After the reboot you will see a console login prompt and the access URL — something like https://192.168.1.50:8006. Open that URL from another computer on the same network. Your browser will warn about a self-signed certificate; accept it. Log in with username root, realm Linux PAM, and the password you set during installation.
Before you do anything else, disable the enterprise repository (which requires a paid subscription) and enable the free no-subscription repo so updates will work. Open the node in the left tree, go to Updates → Repositories, disable the pve-enterprise and ceph-enterprise entries, and click Add to add the No-Subscription repository. Repeat for ceph-no-subscription if you plan to touch Ceph.
Apply updates from a shell. Click Shell on the node and run:
apt update && apt full-upgrade -y
reboot
When the subscription notice nag dialog appears at login, you can ignore it — the software is fully functional without a subscription. Many home users choose to donate or buy a Community subscription once they have a working setup; Proxmox Server Solutions GmbH maintains the whole thing, and a €110 per year Community tier is reasonable support money.
Create Your First VM
From the web UI, click Create VM in the top right. Walk through the wizard:
- General: give the VM an ID (starts at 100) and a name such as
ubuntu-test. - OS: select an ISO. If you do not have one uploaded yet, click the
localstorage, go to ISO Images, and use the Download from URL feature to pull an Ubuntu Server 24.04 LTS ISO directly to the host. - System: set Machine to
q35, BIOS toOVMF (UEFI)for a modern guest, and check Add EFI Disk. Enable QEMU Agent — you will installqemu-guest-agentinside the VM for clean shutdowns and IP reporting. - Disks: 32 GB on
local-lvm(or your ZFS pool) is plenty for a test VM. Use VirtIO SCSI as the controller and check Discard so trimmed blocks return to the pool. - CPU: 2 cores is enough to start. Set Type to
hostfor best performance if you will not live-migrate to a different CPU later. - Memory: 2048 MB minimum. Enable ballooning so the VM can return unused memory to the host.
- Network: attach to
vmbr0with theVirtIO (paravirtualized)model.
Finish the wizard, select the new VM, click Start, then open the Console tab and run through the Ubuntu installer. Once the guest is up, inside the VM run:
sudo apt install -y qemu-guest-agent
sudo systemctl enable --now qemu-guest-agent
The Proxmox Summary page will then show the VM's IP address and respond to graceful shutdown commands.
Configure Backups
Backups are the single feature that justifies moving off bare metal. Proxmox makes them trivial once you have somewhere to store them.
Add a backup target first. Go to Datacenter → Storage → Add → NFS (or SMB/CIFS, or Directory for a USB drive plugged into the host) and point it at your NAS. On the content line, check VZDump backup file.
Now schedule the job. Go to Datacenter → Backup → Add:
- Node: all
- Storage: the NFS share you just added
- Schedule: a cron-style selection, for example
sat 02:00for Saturday at 2 AM - Selection mode: All
- Mode: Snapshot (live backup with minimal downtime)
- Compression: ZSTD (fast, good ratio)
- Retention: under Retention, keep 7 daily, 4 weekly, 6 monthly
Click Run now once to confirm it works. A 32 GB Ubuntu VM with snapshot mode and ZSTD compression typically produces a 2 to 4 GB archive.
For off-site copies, pair this with Proxmox Backup Server, which supports deduplication and incremental backups at the block level.
Troubleshoot Common Issues
Installer freezes at "Loading kernel modules": Your hardware is tripping a KMS issue. At the install splash, highlight the install option, press e, and add nomodeset to the kernel line before booting.
Web UI unreachable after install: Log in at the console and run ip a to confirm the NIC actually got the static IP you set. If the bridge vmbr0 is missing, check /etc/network/interfaces for a typo and run systemctl restart networking.
"No network device found" during install: Your NIC needs a non-free driver (common with Realtek 2.5 GbE chips). Boot the installer in Debug mode, drop to a shell at the first prompt, and consult the Proxmox wiki for the specific firmware package — or, simpler, use a supported Intel or Broadcom NIC.
VMs run but get no network: You likely selected VirtIO without the driver ISO on a Windows guest. Either install the virtio-win drivers or switch the VM NIC model to Intel E1000 as a workaround.
Upgrade fails with "W: (pve-apt-hook) !! WARNING !!": You still have the enterprise repository enabled without a subscription key. Disable it under Updates → Repositories and re-run apt update.
Do I Need a Subscription to Use Proxmox?
No. Proxmox VE is fully open-source GPLv3 software and the no-subscription repository gives you every feature, including HA clustering, live migration, and Ceph. A paid subscription (starting at roughly €110 per year for the Community tier) unlocks the enterprise repository with additional testing before release and gives you support ticket access. For home-lab use, the no-subscription repo is stable enough and what most enthusiasts run.
What to Do Next
You now have a functioning Proxmox host with a working VM and scheduled backups. From here, the natural progressions are:
- Add a network-attached storage target so your VM disks and backups live on resilient storage — our guide to self-hosting a NAS in 2026 covers hardware and software choices.
- Read the official Proxmox VE Administration Guide for deeper topics such as clustering, Ceph, and PCIe passthrough for a GPU in a VM.
- Consult the Proxmox Wiki Installation page if you want to explore unattended installs, ZFS tuning, or dual-boot scenarios.
From here the usual next step is a reverse proxy and a small fleet of LXC containers for the handful of always-on services you actually care about.
Was this article helpful?
Join the conversation — sign in to leave a comment and engage with other readers.
Loading comments...
Related Posts
smart-home
How to Build a Self-Hosted NAS in 2026: TrueNAS vs Unraid, Hardware Picks, and Backup Strategy
Apr 20, 2026networking
WiFi 7 Explained: Is It Worth Upgrading in 2026?
Apr 8, 2026software-tools
How to Migrate from 1Password to Bitwarden in 2026: Step-by-Step
Apr 21, 2026software-tools
How to Switch from Chrome to Dia Browser in 2026: Import Bookmarks, Passwords, and Tabs
Apr 20, 2026Enjoyed this article?
Get the best tech reviews, deals, and deep dives delivered to your inbox every week.